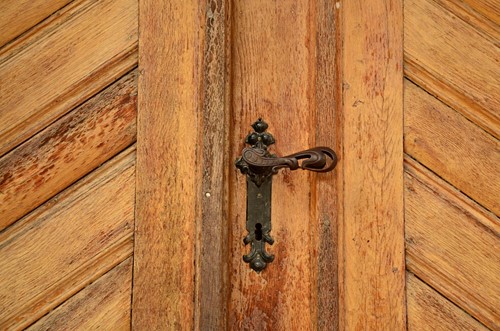
Image by congerdesign from Pixabay
Have you always dreamed of having a beautiful stately headboard at the head of your bed? Do you have an old door and wonder just what you can do with it? If you answered yes to both of those questions, boy, do we have the perfect project for you. Using your old door and a few more supplies, you can make your dreams a reality, creating a gorgeous headboard in seven easy steps. Here’s how.
1. Grab All Your Supplies
Before you get started, gather your materials and tools to breeze through this project with ease. The materials you will need include:
As for tools, you will need:
With those items in hand, you can get started on creating the headboard of your dreams out of an old door.
2. Remove the Old Hardware
Use your screwdriver to remove all the old hardware on the door, including the hinges and doorknob. Either toss out the old hardware or put it to the side for another project.
3. Give It Legs & a Frame
Cut the 2x4s down to size with the cut-off saw, making them small enough to frame around three sides of the back edge. You will screw these pieces along the sides and top edge of the back of the door to extend it out enough to accommodate the mantle edge. Then, measure your bed to determine how long the legs need to be. Cut the rest of the 2x4s to that length and screw them to the bottom of the door.
4. Dress It Up with Trim
Take the oak board and cut it to the length of the door. Secure to the top edge of the door with your nail gun. Cut two pieces of the crown molding to the length of the door and secure them just under the oak board to create a cohesive mantle edge. Then, do the same for the sides, cutting a small piece of crown molding and securing it with the nail gun.
5. Sand & Paint
While being careful to retain the edges of the molding and door details, sand everything down lightly to prep the area for paint. Then, use your brushes to paint the surface using your selected color. Allow the first coat to dry for at least four hours, then add a second. Allow the second coat to dry overnight before continuing with this project.
6. Install on the Frame
With the door painted, it is time to install it on the frame of your bed. You can do so by finding the height of the mounting point on your bedframe and measuring up the legs to mark that point. Then, use your drill to create holes large enough for your mounting hardware. Slide your hardware through the hole in the legs and the mounting plate, then tighten down with your ratchet and socket set.
7. Step Back & Admire
Once you reach this step, all that is left to do is step back and admire your hard work. Your efforts have not only saved an old door from the landfill, but also allowed you to create the headboard of your dreams. And that is definitely something to be proud of.
